Your First Steps to Wing Foiling
Learn wing foiling with this easy guide! Discover essential safety equipment, master controlling the wing, and find out why a wing foiling lesson can shorten your learning curve. Perfect for beginners, this post covers everything from choosing your foil board to your first rides.
7/23/20255 min read
Wing foiling is an amazing sport. It's growing very fast. This fun activity mixes other water sports. It takes parts of windsurfing. It uses parts of kitesurfing. It also brings in foiling. This makes a new, exciting way to play. You can glide on water freely. Or maybe you just want something new. This guide will help you start. It tells you what you need. It shows you how to learn wing foiling.
What is Wing Foiling?
Wing foiling is a cool sport. Some people call it wing surfing. You stand on a special board. This board is a wing board. Under the board is a hydrofoil. You also hold an inflatable wing. This wing catches the wind. The wind pushes you forward. The foil board lifts you. It lifts you out of the water. This makes less drag. It feels like you are flying. It is a very smooth feeling.
This sport is often quiet. It is also easy to carry. It's smaller than windsurfing. It's smaller than kitesurfing. You don't need a harness. You don't need many lines. It is a great way to start. It's perfect for new people. It's ideal for wind-powered water sports.
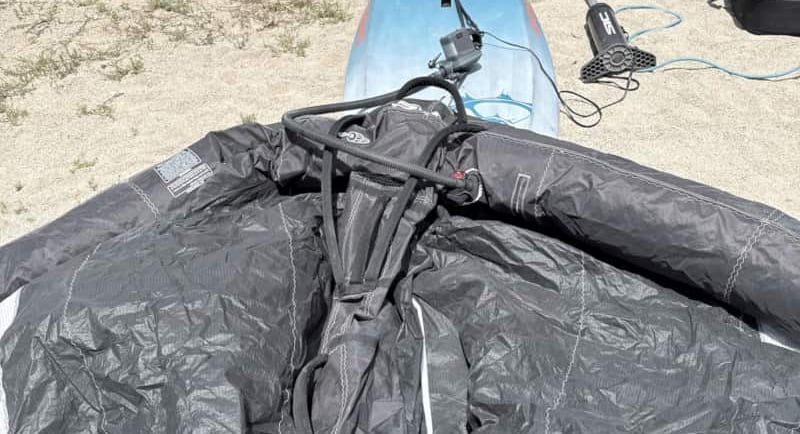
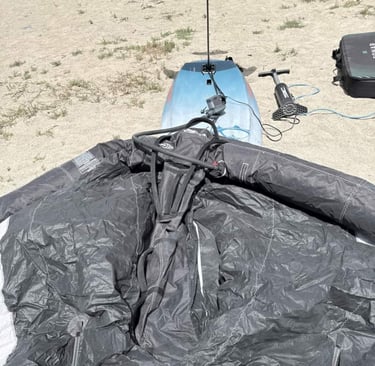
Essential Gear You Will Need
Having the right gear helps. It makes learning easier. It also keeps you safe. Let's look at what you need.
The Wing: This part is important. The wing is inflatable. You hold it in your hands. Wings come in different sizes. The size depends on the wind. It also depends on your weight. For beginners, a 4m–6m wing is common. These sizes work well. They are good in most wind conditions. This inflatable wing is light. It is easy to handle.
Wing Foil Boards: Choosing the right board matters. Look for a larger board. A bigger board is more stable. This helps you balance easily. Boards around 140–160 liters are good. They offer great stability. Some new learners start with inflatable boards. These are good for safety equipment. Inflatable boards are softer. They are also easier to carry. These wing foil boards are beginner friendly.
The Foil (Hydrofoil): The foil is under your board. It's what lifts you up. You want a large front wing. This big wing gives good lift. It also makes you stable. A shorter mast is best. A mast about 60–75cm is easier. It helps you learn faster. This part of the gear is key. It helps you get up and go.
Safety Gear: Safety equipment is very important. Always wear a helmet. An impact vest is also highly suggested. This vest helps you float. It also protects your body. A board leash is helpful. It keeps your board near you. This stops it from floating away. Always use your safety gear. It keeps you safe on the water. Read a Gear Guide for more. It gives detailed advice. It matches your skill level. It also considers local wind conditions. Always be prepared for anything.
Learning to Wing Foil: Step-by-Step
Learning wing foiling is fun. You will learn fast with practice. Here are the steps to follow. This is a step by step guide.
Step 1: Practice on Land Start on land first. Or go into shallow water. This is where you begin. Learn how to hold the wing. Practice moving it around. Get used to steering the wing. Learn to control its power. Figure out wing positioning. Do this with wind. Do this without wind. This helps you get a feel. It is important practice. It builds your base skills.
Step 2: On the Water Without the Foil Next, go on the water. Do not use the foil yet. Use a big stand-up paddleboard (SUP) with a dagger. Also known as a dagger board. Or use a beginner foil board. Make sure the foil is not on. A board with a dagger is best. This part helps you go upwind. Focus on going upwind. Also, focus on going downwind. Practice standing up on the board. Try turning around, called tacking. Get good at controlling the wing. This step is about balance. It's about moving the board. It prepares you for the next level. Learn to go up wind and crosswind.
Step 3: Time to Foil Now you are ready. Attach the foil to your board. You should feel good now. You know controlling the wing. Learn to shift your weight. This makes the board lift. You will rise out of the water. Expect to fall sometimes. Short rides are normal at first. Practice more and more. You will see progress fast. This is the fun part of learning to wing. The learning curve can be steep but rewarding.
Step 4: Keep Getting Better Once you can foil, keep learning. Learn new things like transitions. Try turns called jibes. You might even try small jumps. Watch videos to learn more. Or book more lessons. A good wing foiling lesson helps a lot. It makes you better faster. Keep practicing always. Learning is a journey.
Why You Should Take Lessons
Learning on your own can be hard. It might feel frustrating. A good teacher helps a lot. A certified instructor can shorten your learning curve. They will teach you about wind. They will explain safety rules. They will show you how to set up gear. They make learning easier. They make it beginner friendly.
Look for a wing foil school. Find one close to you. Taking a wing foiling lesson saves time. It also keeps you safer. Instructors know the best ways. They can spot your mistakes. They help you fix them fast. This helps you get on the foil sooner. They also know local spots. They can tell you about good wind conditions. They help you understand safety gear. This is an investment in fun. It makes your learning easier. It helps you get better skills. Remember, lessons are worth it. They are a big help.
Important Safety Tips
Safety is always first. Always check the wind first. Look at the wind forecast. Know the wind conditions. Stay away from swimmers. Keep clear of big rocks. Avoid boat channels too. These areas can be dangerous. Start in gentle wind. Light to medium wind is best. About 10–15 knots is good. Always wear a helmet. Also use a buoyancy aid. This is extra safety equipment. It helps you float. Always be aware of your surroundings. Know where you are. Know what is around you. This keeps you and others safe. Be careful in shallow water. There might be things hidden. Check for obstacles. Always double-check your safety gear. Make sure it fits right. Make sure it is working. Your fun relies on safety.
Common Questions for New Wing Foilers
People new to wing foiling ask many questions. Here are some answers.
What gear do I need to start wing foiling?
You need a wing. You need a wing board. You need a foil. And you need safety equipment. This includes a helmet. It includes an impact vest. A leash is also good. Our Gear Guide has more. You can read it online.
Is wing foiling hard to learn?
t's not as hard as it looks. With good teaching, it's fast. Most new people get on the foil. They do this in about 5–10 sessions. A session is a day out. So, it's pretty quick. The learning curve is exciting.
Can I teach myself to wing foil?
Yes, you can try. Some people do. But lessons are better. They save you time. They also reduce risk. A wing foiling lesson is best. It speeds up your progress. It also keeps you safe. An instructor helps you avoid bad habits. They teach you right. This makes a big difference. They help with controlling the wing. They help you choose the right foil board. They can tell you about wind conditions. This makes the whole process smoother. It ensures you have proper safety gear.
Connect
Explore wing foiling schools, vendors, and events.
Support
Learn
801-554-1050
© 2025. All rights reserved.